# You must change these to your own details.
[package]
name = "rust-webpack-template"
description = "My super awesome Rust, WebAssembly, and Webpack project!"
version = "0.1.0"
authors = ["You <you@example.com>"]
categories = ["wasm"]
readme = "README.md"
edition = "2021"
[build]
strip = true
[profile.dev]
strip = true
[profile.release]
# This makes the compiled code faster and smaller, but it makes compiling slower,
# so it's only enabled in release mode.
lto = true
opt-level = 'z'
strip = true
[lib]
crate-type = ["cdylib"]
[features]
# If you uncomment this line, it will enable `wee_alloc`:
#default = ["wee_alloc"]
[dependencies]
# The `wasm-bindgen` crate provides the bare minimum functionality needed
# to interact with JavaScript.
wasm-bindgen = "0.2.78"
console_error_panic_hook = "0.1.7"
# `wee_alloc` is a tiny allocator for wasm that is only ~1K in code size
# compared to the default allocator's ~10K. However, it is slower than the default
# allocator, so it's not enabled by default.
wee_alloc = { version = "0.4.2", optional = true }
# The `web-sys` crate allows you to interact with the various browser APIs,
# like the DOM.
[dependencies.web-sys]
version = "0.3.55"
features = ["console","Window","Document","HtmlCanvasElement","CanvasRenderingContext2d","Element"]
# The `console_error_panic_hook` crate provides better debugging of panics by
# logging them with `console.error`. This is great for development, but requires
# all the `std::fmt` and `std::panicking` infrastructure, so it's only enabled
# in debug mode.
#[target."cfg(debug_assertions)".dependencies]
#console_error_panic_hook = "0.1.5"
# These crates are used for running unit tests.
[dev-dependencies]
wasm-bindgen-test = "0.3.28"
futures = "0.3.18"
js-sys = "0.3.55"
wasm-bindgen-futures = "0.4.28"
package.jsonは以下
{
"author": "You <you@example.com>",
"name": "rust-webpack-template",
"version": "0.1.0",
"scripts": {
"build": "rimraf dist pkg && webpack",
"start": "rimraf dist pkg && webpack-dev-server --open -d",
"test": "cargo test && wasm-pack test --headless"
},
"devDependencies": {
"@wasm-tool/wasm-pack-plugin": "^1.1.0",
"copy-webpack-plugin": "^5.0.3",
"webpack": "^4.47.0",
"webpack-cli": "^3.3.3",
"webpack-dev-server": "^3.7.1",
"rimraf": "^3.0.0"
}
}
index.htmlを以下のように修正してcanvasを追加している
<!DOCTYPE html>
<html>
<head>
<meta charset="UTF-8">
<title>My Rust + Webpack project!</title>
</head>
<body>
<script src="index.js"></script>
<canvas id="canvas" height="600" width="600"></canvas>
</body>
</html>
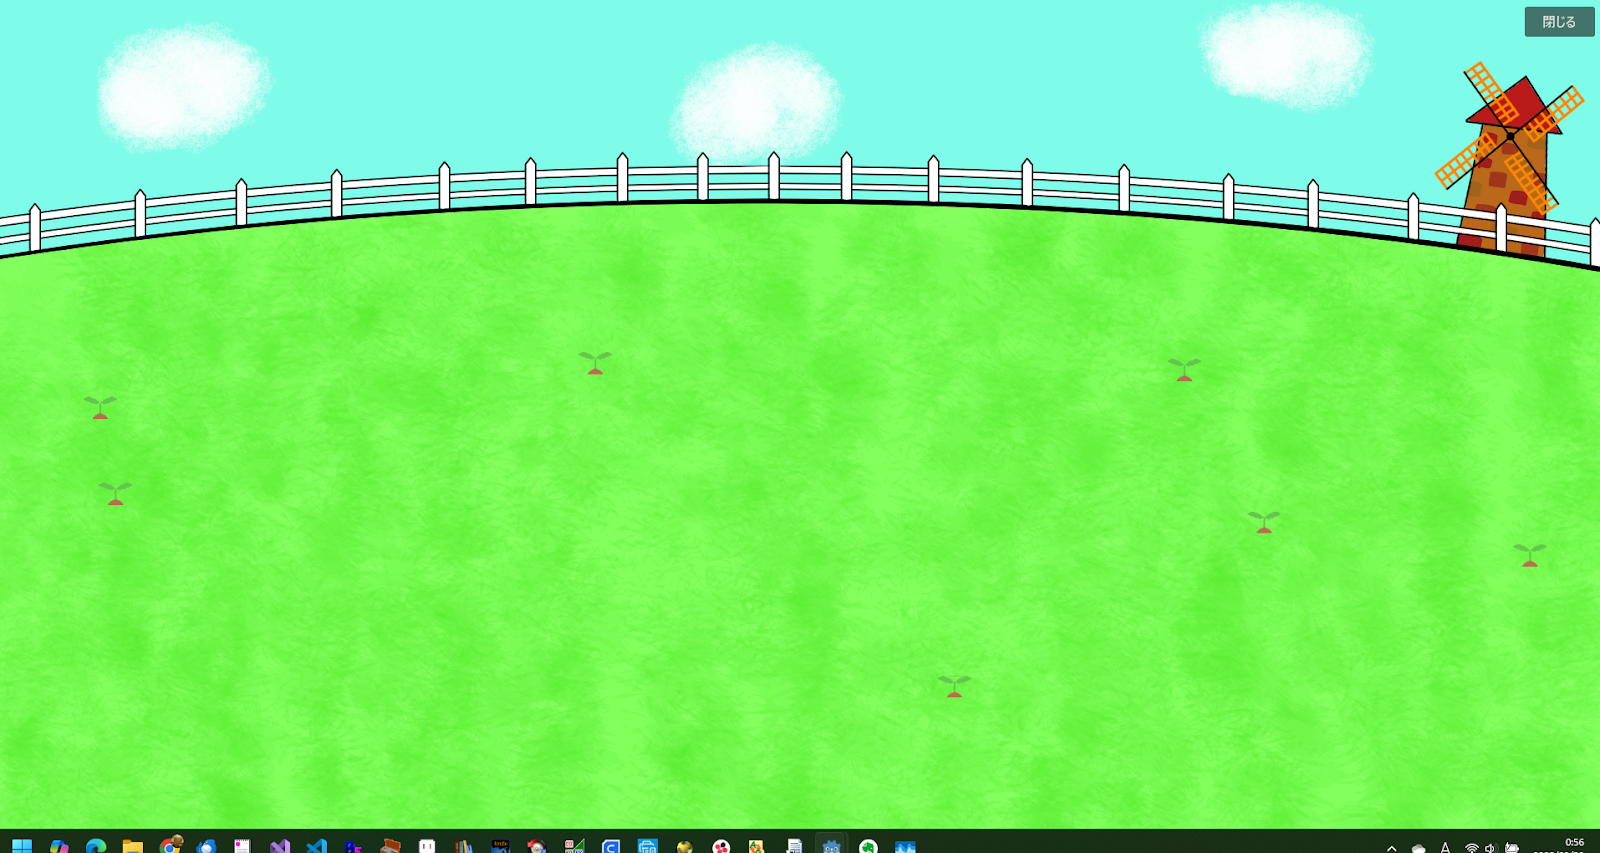
npm run startすると、ブラウザが立ち上がり以下のような画面が出る
設定など面倒なことも多いが、一応思った通りのことはでき始めているようだ。
続いて、本によるとシェルピンスキーにしたいとのことで、
draw_triangleを作成する
lib.rsは以下のようになる
use wasm_bindgen::JsCast;
use wasm_bindgen::prelude::*;
use web_sys::console;
// When the `wee_alloc` feature is enabled, this uses `wee_alloc` as the global
// allocator.
//
// If you don't want to use `wee_alloc`, you can safely delete this.
#[cfg(feature = "wee_alloc")]
#[global_allocator]
static ALLOC: wee_alloc::WeeAlloc = wee_alloc::WeeAlloc::INIT;
// This is like the `main` function, except for JavaScript.
#[wasm_bindgen(start)]
pub fn main_js() -> Result<(), JsValue> {
// This provides better error messages in debug mode.
// It's disabled in release mode so it doesn't bloat up the file size.
console_error_panic_hook::set_once();
// Your code goes here!
console::log_1(&JsValue::from_str("Hello world!"));
let window = web_sys::window().unwrap();
let document = window.document().unwrap();
let canvas = document.get_element_by_id("canvas").unwrap().dyn_into::<web_sys::HtmlCanvasElement>().unwrap();
let context = canvas.get_context("2d").unwrap().unwrap().dyn_into::<web_sys::CanvasRenderingContext2d>().unwrap();
draw_triangle(&context,[(300.0,0.0),(0.0,600.0),(600.0,600.0)]);
Ok(())
}
fn draw_triangle(context:&web_sys::CanvasRenderingContext2d, points:[(f64,f64);3]){
let [top, left, right] = points;
context.move_to(top.0,top.1);
context.begin_path();
context.line_to(left.0,left.1);
context.line_to(right.0,right.1);
context.line_to(top.0,top.1);
context.close_path();
context.stroke();
}
ブラウザで三角形が確認できるはず
draw_triangleを足す
draw_triangle(&context,[(300.0,0.0),(150.0,300.0),(450.0,300.0)]);
ブラウザではこうなる
左と右の三角も足してみる
draw_trigangleのところだけ抽出するとこんな感じ
draw_triangle(&context,[(300.0,0.0),(0.0,600.0),(600.0,600.0)]);
draw_triangle(&context,[(300.0,0.0),(150.0,300.0),(450.0,300.0)]);
draw_triangle(&context,[(150.0,300.0),(0.0,600.0),(300.0,600.0)]);
draw_triangle(&context,[(450.0,300.0),(300.0,600.0),(600.0,600.0)]);
ブラウザではこうなっているはず
ここまでひな形ができたので、シェルピンスキの三角形になるように修正する
use wasm_bindgen::JsCast;
use wasm_bindgen::prelude::*;
use web_sys::console;
// When the `wee_alloc` feature is enabled, this uses `wee_alloc` as the global
// allocator.
//
// If you don't want to use `wee_alloc`, you can safely delete this.
#[cfg(feature = "wee_alloc")]
#[global_allocator]
static ALLOC: wee_alloc::WeeAlloc = wee_alloc::WeeAlloc::INIT;
// This is like the `main` function, except for JavaScript.
#[wasm_bindgen(start)]
pub fn main_js() -> Result<(), JsValue> {
// This provides better error messages in debug mode.
// It's disabled in release mode so it doesn't bloat up the file size.
console_error_panic_hook::set_once();
// Your code goes here!
console::log_1(&JsValue::from_str("Hello world!"));
let window = web_sys::window().unwrap();
let document = window.document().unwrap();
let canvas = document.get_element_by_id("canvas").unwrap().dyn_into::<web_sys::HtmlCanvasElement>().unwrap();
let context = canvas.get_context("2d").unwrap().unwrap().dyn_into::<web_sys::CanvasRenderingContext2d>().unwrap();
sierpinski(&context,[(300.0,0.0),(0.0,600.0),(600.0,600.0)],5);
Ok(())
}
fn sierpinski(context:&web_sys::CanvasRenderingContext2d,points:[(f64,f64);3],depth:u8){
let depth = depth - 1;
draw_triangle(&context,points);
let [top, left, right] = points;
if depth>0{
let left_middle = ((top.0 + left.0)/2.0,(top.1 + left.1)/2.0);
let right_middle = ((top.0 + right.0)/2.0,(top.1 + right.1)/2.0);
let bottom_middle = (top.0, right.1);
sierpinski(&context,[top,left_middle, right_middle],depth);
sierpinski(&context,[left_middle, left, bottom_middle],depth);
sierpinski(&context,[right_middle, bottom_middle,right],depth);
}
}
fn draw_triangle(context:&web_sys::CanvasRenderingContext2d, points:[(f64,f64);3]){
let [top, left, right] = points;
context.move_to(top.0,top.1);
context.begin_path();
context.line_to(left.0,left.1);
context.line_to(right.0,right.1);
context.line_to(top.0,top.1);
context.close_path();
context.stroke();
}
画面ではこうなる
次に色を乱数で決定しようということで、Cargo.tomlにrandとgetrandomの行を追加する
[dependencies]
# The `wasm-bindgen` crate provides the bare minimum functionality needed
# to interact with JavaScript.
wasm-bindgen = "0.2.78"
console_error_panic_hook = "0.1.7"
rand = "0.8.5"
getrandom={version = "0.2.3", features = ["js"]}
バージョンは本だと0.8.4だったけど、エラーが出て0.8.5だとわかったので変えた
lib.rsにcolor関連の修正を加える
use wasm_bindgen::JsCast;
use wasm_bindgen::prelude::*;
use web_sys::console;
use rand::prelude::*;
// When the `wee_alloc` feature is enabled, this uses `wee_alloc` as the global
// allocator.
//
// If you don't want to use `wee_alloc`, you can safely delete this.
#[cfg(feature = "wee_alloc")]
#[global_allocator]
static ALLOC: wee_alloc::WeeAlloc = wee_alloc::WeeAlloc::INIT;
// This is like the `main` function, except for JavaScript.
#[wasm_bindgen(start)]
pub fn main_js() -> Result<(), JsValue> {
// This provides better error messages in debug mode.
// It's disabled in release mode so it doesn't bloat up the file size.
console_error_panic_hook::set_once();
// Your code goes here!
console::log_1(&JsValue::from_str("Hello world!"));
let window = web_sys::window().unwrap();
let document = window.document().unwrap();
let canvas = document.get_element_by_id("canvas").unwrap().dyn_into::<web_sys::HtmlCanvasElement>().unwrap();
let context = canvas.get_context("2d").unwrap().unwrap().dyn_into::<web_sys::CanvasRenderingContext2d>().unwrap();
sierpinski(&context,[(300.0,0.0),(0.0,600.0),(600.0,600.0)],(0,255,0),5);
Ok(())
}
fn sierpinski(context:&web_sys::CanvasRenderingContext2d,points:[(f64,f64);3],color:(u8,u8,u8),depth:u8){
draw_triangle(&context,points,color);
let depth = depth - 1;
let [top, left, right] = points;
if depth>0{
let left_middle = ((top.0 + left.0)/2.0,(top.1 + left.1)/2.0);
let right_middle = ((top.0 + right.0)/2.0,(top.1 + right.1)/2.0);
let bottom_middle = (top.0, right.1);
let mut rng = thread_rng();
let next_color = (
rng.gen_range(0..255),
rng.gen_range(0..255),
rng.gen_range(0..255),
);
sierpinski(&context,[top,left_middle, right_middle],next_color,depth);
sierpinski(&context,[left_middle, left, bottom_middle],next_color,depth);
sierpinski(&context,[right_middle, bottom_middle,right],next_color,depth);
}
}
fn draw_triangle(context:&web_sys::CanvasRenderingContext2d, points:[(f64,f64);3],color:(u8,u8,u8)){
let color_str = format!("rgb({},{},{})",color.0,color.1,color.2);
context.set_fill_style(&wasm_bindgen::JsValue::from_str(&color_str));
let [top, left, right] = points;
context.move_to(top.0,top.1);
context.begin_path();
context.line_to(left.0,left.1);
context.line_to(right.0,right.1);
context.line_to(top.0,top.1);
context.close_path();
context.stroke();
context.fill();
}
画面は次のようになる